How to Beat Bosses in Dragonhold
World-class bosses demand air-and-ground teamwork — here's how to win and extract.
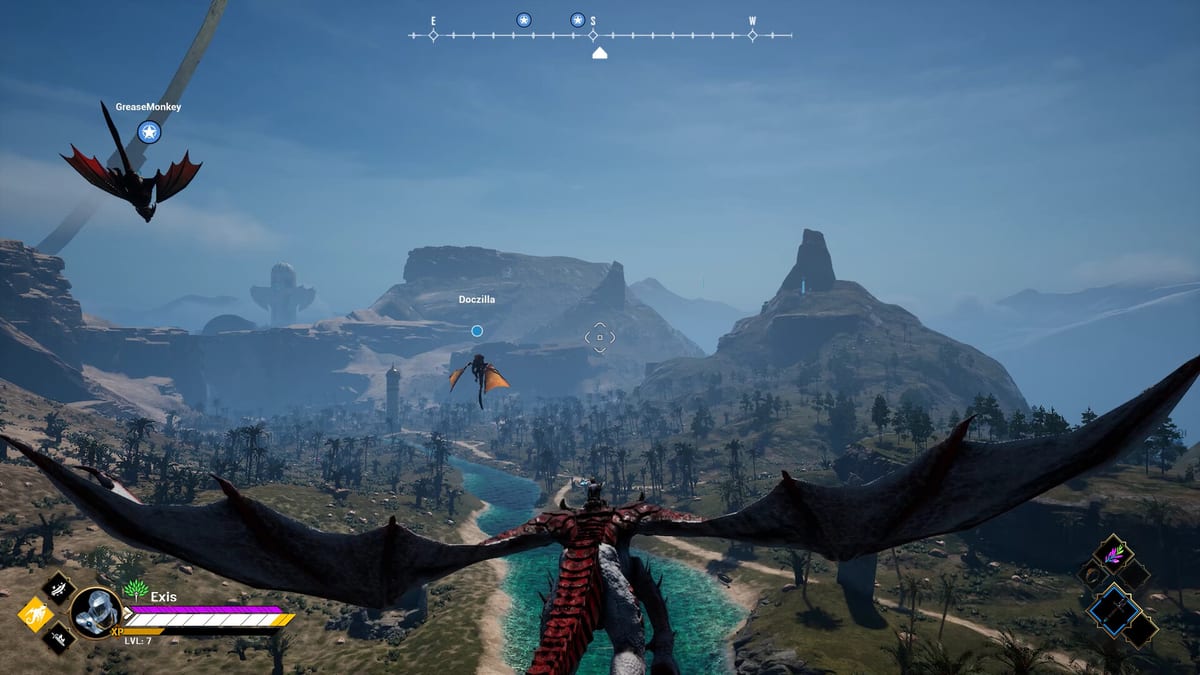
Boss fights are Dragonhold’s skill exams. Exis Games positions them as world-class encounters you can tackle mounted on dragons or dismounted as a rider, solo or with a band of dragon-riders. They gate mainline progress, Anchor Stone rewards, and high-value crafting mats. Winning is not enough — you must win and extract with the loot. This guide covers preparation, phase tactics, and post-fight extraction so a victory lap does not become a Director-triggered wipe.
Know the fight space before engaging
Boss arenas in Azarkeen mix open air, ruined fortresses, and enclosed chambers. Scout before committing:
- Ceiling height — low caverns disable full dragon maneuvers; plan to dismount early.
- Extract proximity — know the exit route before the boss adds enrage timers.
- Add spawn points — trash mobs during boss fights often come from fixed lanes the AI Director reinforces.
Use Azarkeen map notes and Expedition Zones callouts from your party. Surprise terrain loses more runs than DPS checks.
Pre-fight loadout checklist
- Gear floor — meet recommendations from Gear Priority; undergeared riders should farm elites first.
- Consumables — max healing, cleanse for debuffs, stamina for sustained dodges on foot.
- Dragon stamina — enter at full mount energy for opening breath volleys (Dragon Upgrades help).
- Hand of Fate awareness — some cards add boss modifiers; read Hand of Fate before pull.
- Co-op roles — assign mount DPS, ground specialist, and add control; see Co-op Guide.
Run the Extract Checklist if the boss drops guaranteed upgrade slots — inventory full means wasted kills.
Phase 1: Opening from dragonback
Most bosses allow an aerial opener:
- Orbit at medium altitude — avoid ground AOEs telegraphed by red runes or wing flares.
- Breath on weak points — many bosses expose crest, wing joint, or channeling glow; strafe passes from Flight Controls beat hover-and-tank.
- Watch enrage triggers — some bosses ground you at health thresholds or after timer; do not burn stamina before forced dismount.
- Peel adds — co-op dragon riders can kite minions away from the ground specialist.
If aerial damage falls off due to resistances, transition deliberately rather than clutch-dismounting mid-telegraph.
Phase 2: Ground combat fundamentals
Dismounted phases test third-person mechanics:
- Learn tell animations — bosses wind up slow heavy hits; dodge sideways, not backward into arena edges.
- Stick to safe sides — many patterns are directional; rotating the boss away from hazards matters.
- Time abilities — burst during stagger windows after parries or dragon distraction setups.
- Camera clarity — tune lock-on via Camera Settings so large models do not obscure your hitbox.
Deep mechanics live in Ground Combat. Bosses punish panic rolling more than missed DPS.
Phase 3: Hybrid dragon support
Even when you fight on foot, your dragon is not idle:
- Scheduled breath runs — call mount cooldowns between boss mechanics.
- Add cleanup — send dragon fire down lanes while the party focuses the boss.
- Emergency remount — some fights allow aerial escape during add waves; know if yours does before trying.
Solo players must self-manage both roles — bias toward safer ground patterns and extract earlier if mount cooldowns desync.
Co-op coordination patterns
| Role | Job |
|---|---|
| Lead rider | Maintains aggro on ground, calls phase transitions |
| Sky rider | Handles adds and breath windows |
| Support | Revives, buffs, debuff cleanse |
| Flex | Picks up downed players and secures chests during stagger |
Use voice for “dismount now,” “adds left,” and “extract after chest.” Host lag affects dodge timing on dedicated servers — How to Host a Server covers stability tips.
Loot priorities after the kill
Boss pools often drop relics, Anchor quest items, and rare mats:
- Quest items — fail mainline progress if left behind.
- Relic upgrades — check Relics synergies before auto-equipping.
- Crafting mats — feed Crafting Stations plans.
- Sell fodder — only after secure extract call.
Do not open long inventory management during invulnerability windows if adds remain — the Director can spawn reinforcements when pacing idles.
Extract after victory
Boss kills spike threat. Standard flow:
- Loot primary chest and personal drops.
- Remount immediately if overworld.
- Fly extract route scouted pre-fight.
- Extract on call — see How to Extract.
Greedy second chest pulls cause most post-boss deaths. Bank the guaranteed win.
Boss-specific mindset for Early Access
New bosses arrive with patches — read Updates when struggling after a version bump. If a fight feels impossible:
- Lower Hand of Fate difficulty if selectable cards exist.
- Farm Beginner Build upgrades one tier.
- Practice dismount tells in smaller elite camps first.
- Watch community footage with the provided video guide for telegraph timing.
Dragonhold bosses are designed to feel epic, not unfair — pattern knowledge beats raw level. Learn, extract, craft, return stronger.
Frequently Asked Questions
Quick answers tied to this page.
Can all Dragonhold bosses be fought on dragonback?
Many support aerial openers, but most require dismounted phases in arenas or low-ceiling spaces. Scout each fight and read Flight Controls plus Ground Combat.
Do bosses drop Anchor Stones?
Anchor Stones come from mainline mission completion; bosses often drop mats and relics needed for progression. See Anchor Stones.
Should we extract immediately after a boss?
Usually yes — threat spikes post-kill. Secure primary loot then extract per How to Extract.