Dragonhold Map Hub
Orient yourself in Azarkeen — war-torn expeditions, landmarks, and routes back to your castle island.
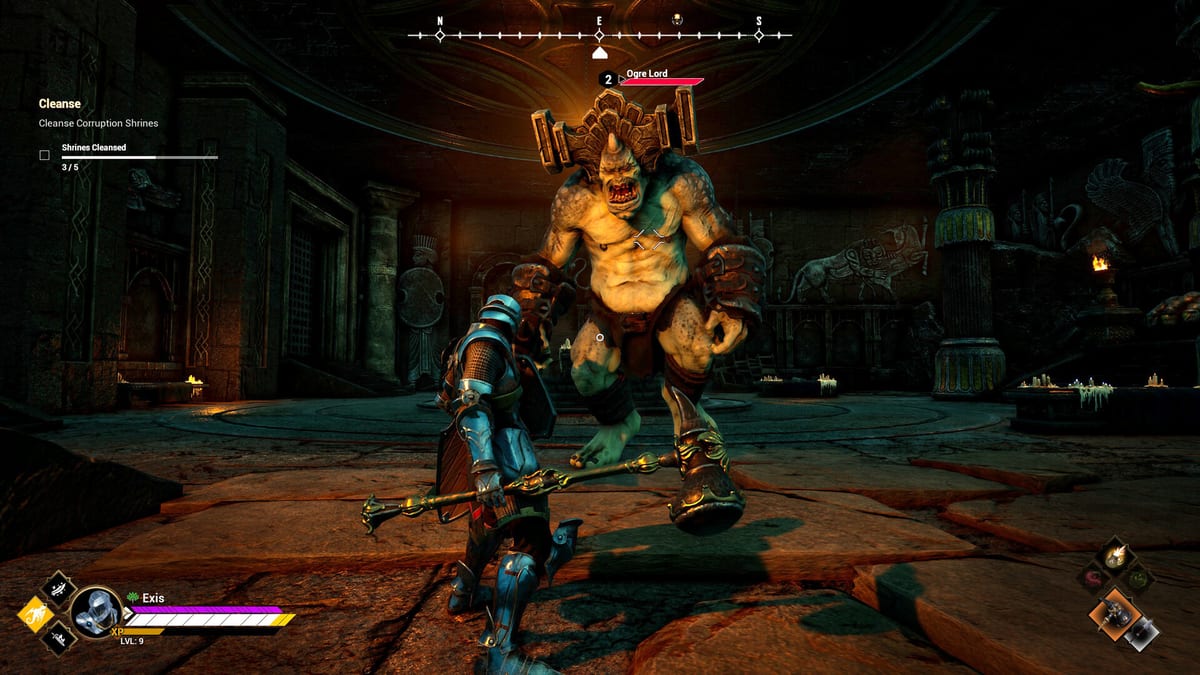
Dragonhold splits geography into two mental maps. Your hub island is a personal castle town where you rebuild Dragonhold, craft gear, and accept missions. Azarkeen — a besieged region in the land of Aval — is where extraction runs happen: dragon flights over broken holy-war battlefields, dismounted dungeon clears, boss arenas, and the extract point that returns loot to safety.
This map hub helps you navigate Azarkeen with purpose instead of wandering until the AI Director punishes hesitation. Missions are structured excursions, not a seamless open-world MMO continent. Still, knowing zone character, verticality, and typical enemy density saves lives when Hand of Fate modifiers spike difficulty mid-run.
Core map guides
Begin with Azarkeen Overview for the region’s fiction, biome tone, and how aerial scouting interacts with ground objectives. Azarkeen is where you free civilians, break siege lines, and gather the resources that fund castle construction — understanding its layout helps you pick missions matching your build.
Follow with Expedition Zones for a breakdown of mission spaces: overworld stampede routes, fortified camps, interior ruins, and boss pockets. Each zone favors different tactics — mounted breath strafing versus foot dodges — and different loot profiles.
Map knowledge and the extraction loop
Maps are useless without extraction timing. Cross-read How to Extract and Extraction Mission Loop so you know when deeper zone penetration is worth the return walk or dragon pickup. The Loot Guide adds which zones justify farming specific materials.
Your hub island is not part of Azarkeen but appears on every mental map as the destination. How to Rebuild the Castle explains how mission choice on the map feeds Anchor Stone placement back home.
Flight routes and landmarks
Dragonhold expects you to commute by dragon. Mark extraction beacons, cliff lines safe for diving attacks, and chokepoints where ground parties get trapped. Flight Controls turns map knowledge into execution — banking around spires beats straight-line flying when archers line ramparts.
Landmarks also anchor co-op callouts. The Co-op Guide recommends simple north/south language tied to visible ruins or siege engines so parties split without losing each other.
Recommended reading order
- Azarkeen Overview — region context and mission framing.
- Expedition Zones — zone-by-zone tactics and loot notes.
- Getting Started — first departure from hub to field.
- Extract Checklist — review before pushing into unfamiliar territory.
Related hubs
- Guides — mission walkthroughs tied to map objectives.
- Multiplayer — shared navigation and revive routing in co-op.
- Items — what each zone drops and what to extract first.
Early Access expands Azarkeen over time. Revisit this hub after Updates mention new zones or Director spawn changes. Until then, use the sibling pages below to plan each expedition like a route, not a sightseeing trip.
Frequently Asked Questions
Quick answers tied to this page.
Is Azarkeen one open world or separate missions?
Runs are mission-based excursions within the Azarkeen region, not a persistent shared overworld. Azarkeen Overview explains how instances and objectives work.
Can I extract from anywhere on the map?
Dragonhold supports extraction once the mission allows it — timing matters more than geography. See How to Extract for practical cues.
Where is the castle on the map?
Your rebuildable castle sits on a private hub island separate from Azarkeen combat spaces. Hub progression is covered in Castle guides.